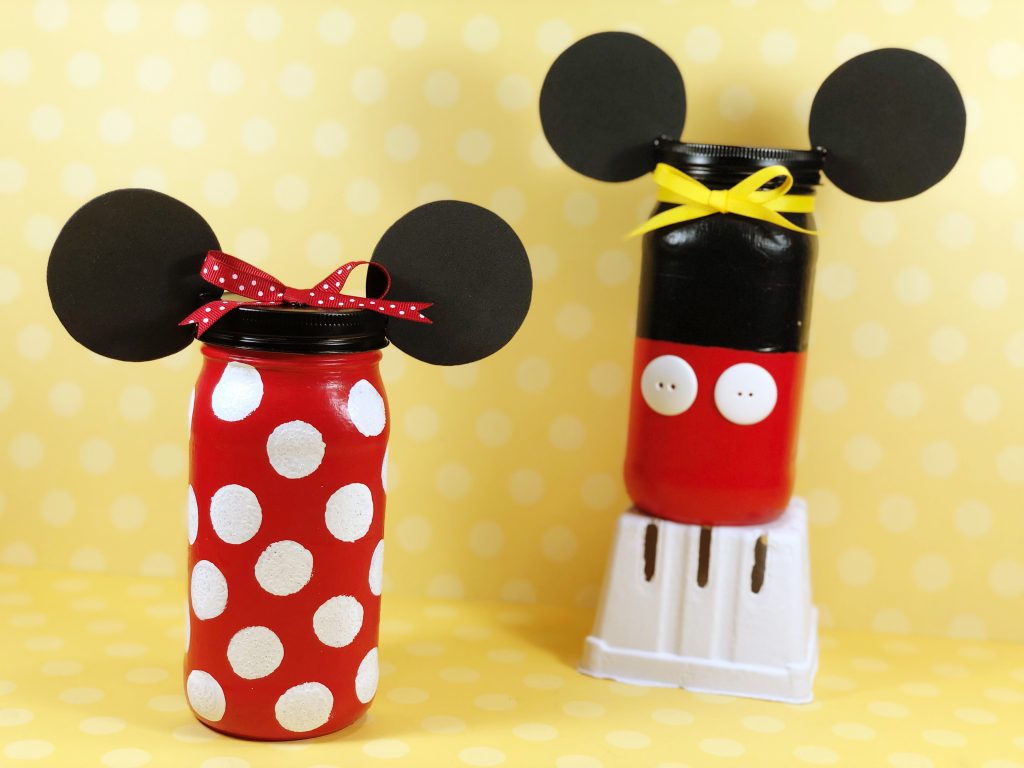
You are planning a great Disney vacation. You know your kids, they want one of everything in every store. You know better, they play with it for 10 minutes and forget about it. Unless…..it is their money! When it’s their money I don’t care how old they are, they agonize in the shops forever to decide if this really is the perfect souvenir. Why not get them involved in the vacation savings and planning by creating one of these Mickey or Minnie Inspired Mason Jars as their bank! It’s super easy and lots of fun.
Materials
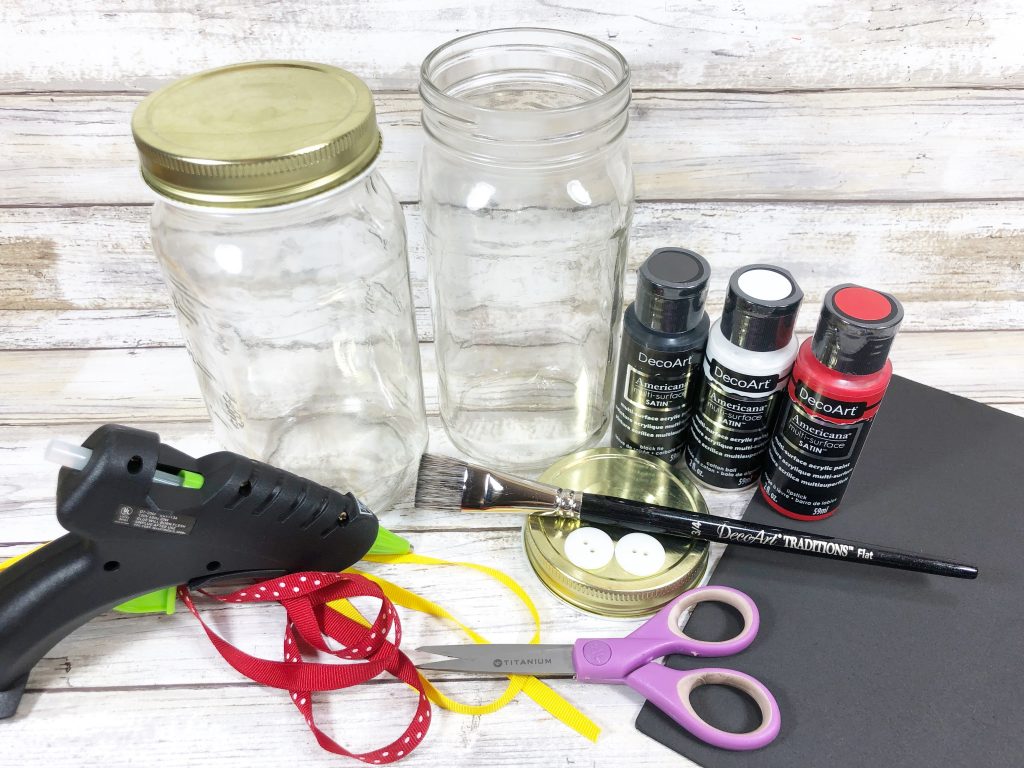
- Mason Jars – quart size, two
- Americana Multi-Surface Satin craft paint from DecoArt – Lipstick, Black Tie and Cotton Ball
- Buttons – 1”, two, white
- Craft Foam – black
- Grosgrain Ribbon – ½” yellow; ½” red and white polka dot
- Paintbrush – 1” flat wash
- Sponge Applicator – ¾” round
- Low Temp Glue Gun and Glue Sticks
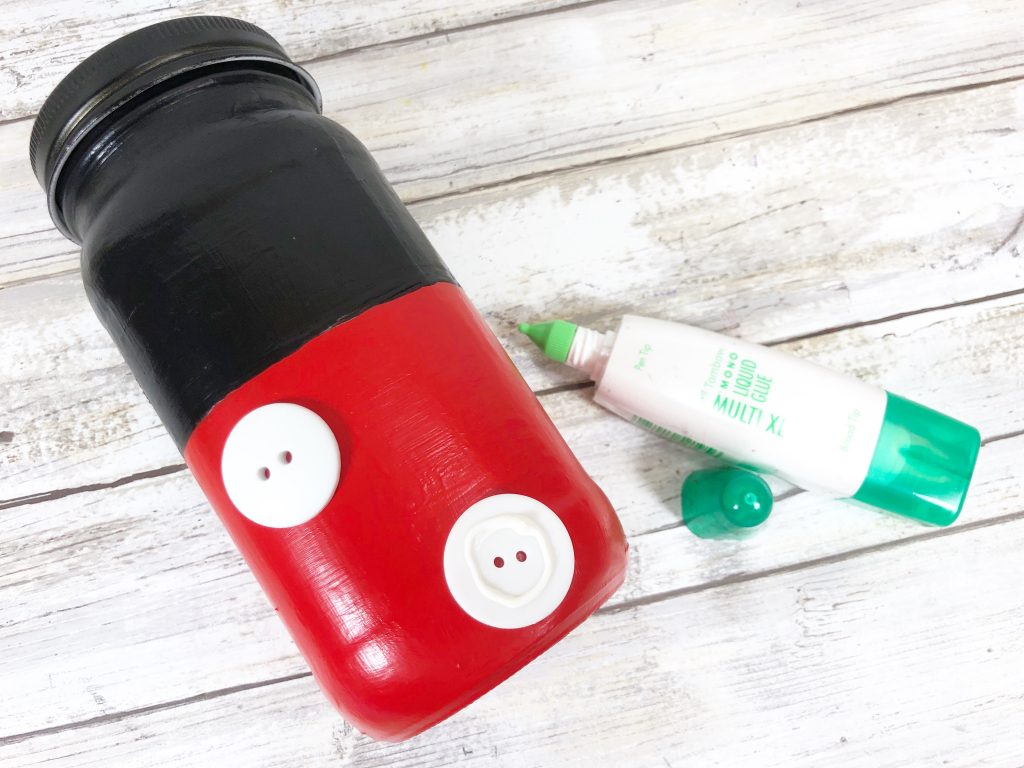
- Liquid Glue – fine tip applicator
- Scissors
- White Pencil
- Ruler
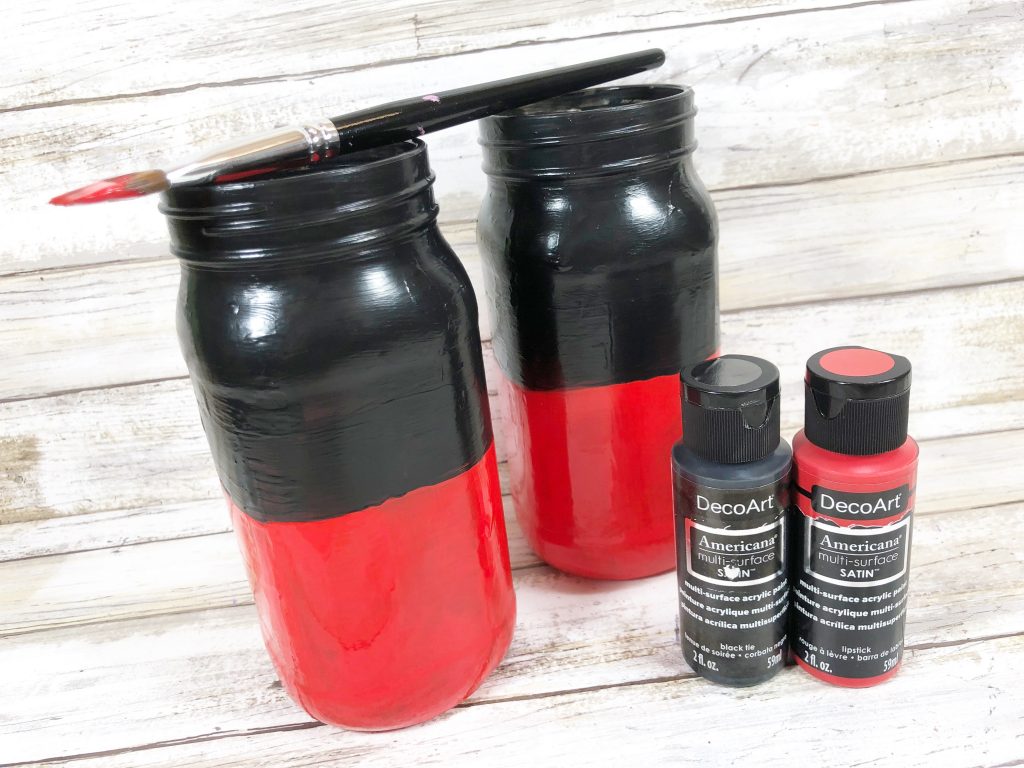
Step 1
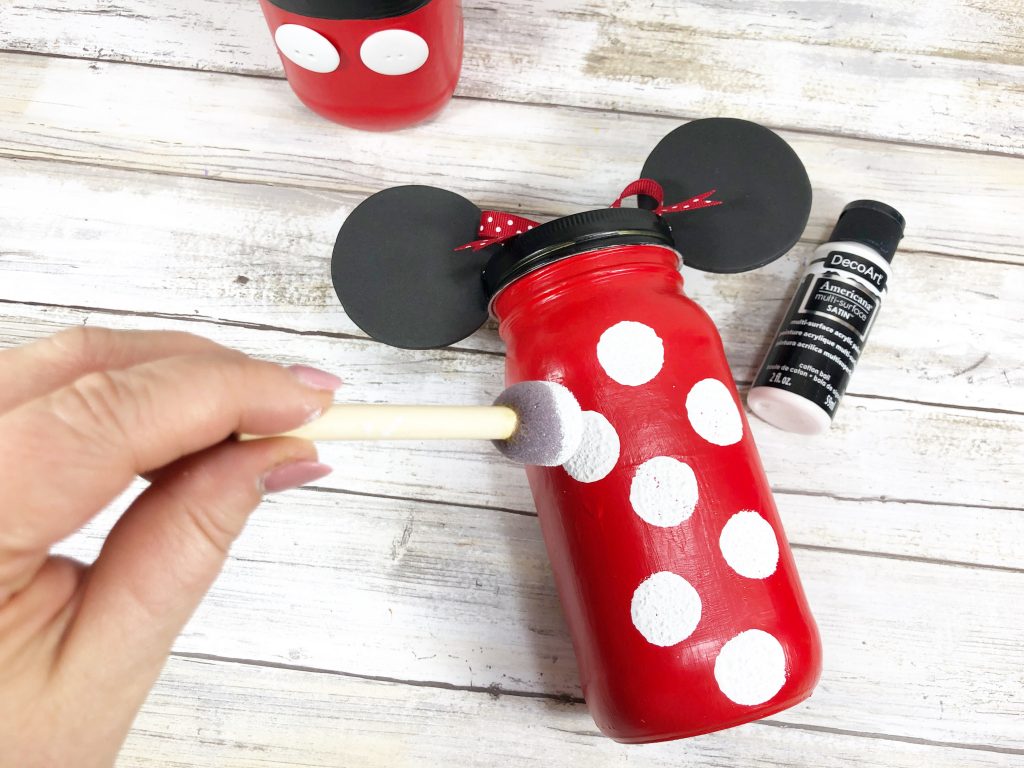
Wash and dry mason jars completely. Base coat entire Minnie jar with Lipstick, set aside to dry. Base coat bottom one-third of Mickey jar with Lipstick and top two-thirds with Black Tie, set aside to dry. Apply a second coat, if necessary.
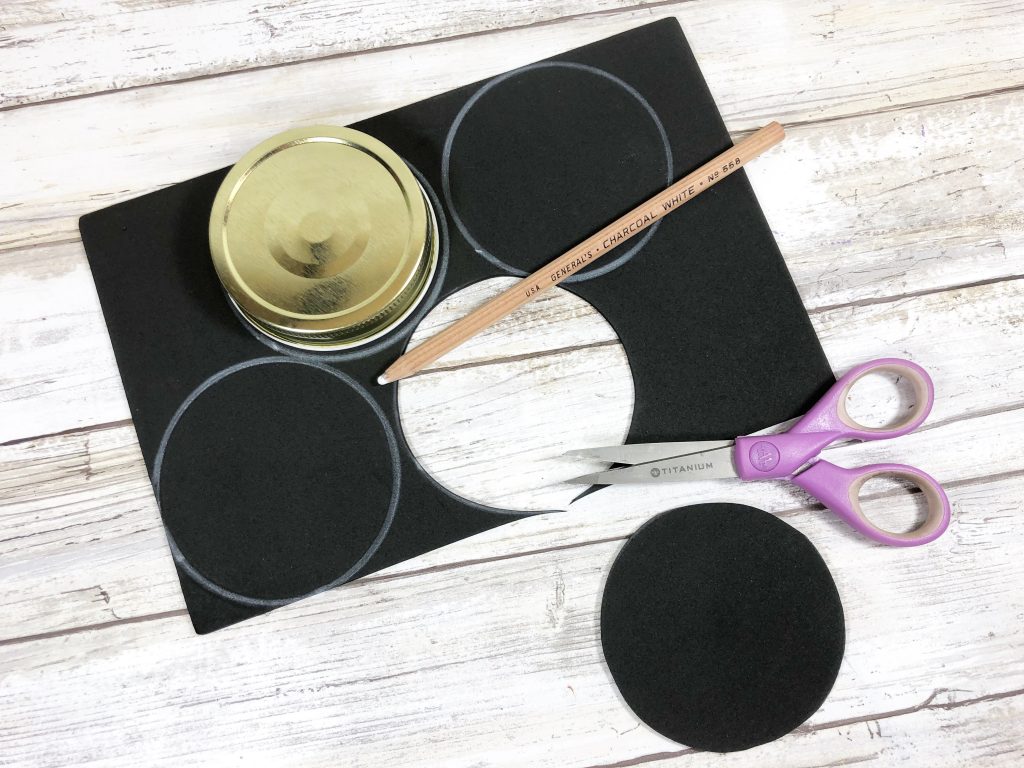
Step 2
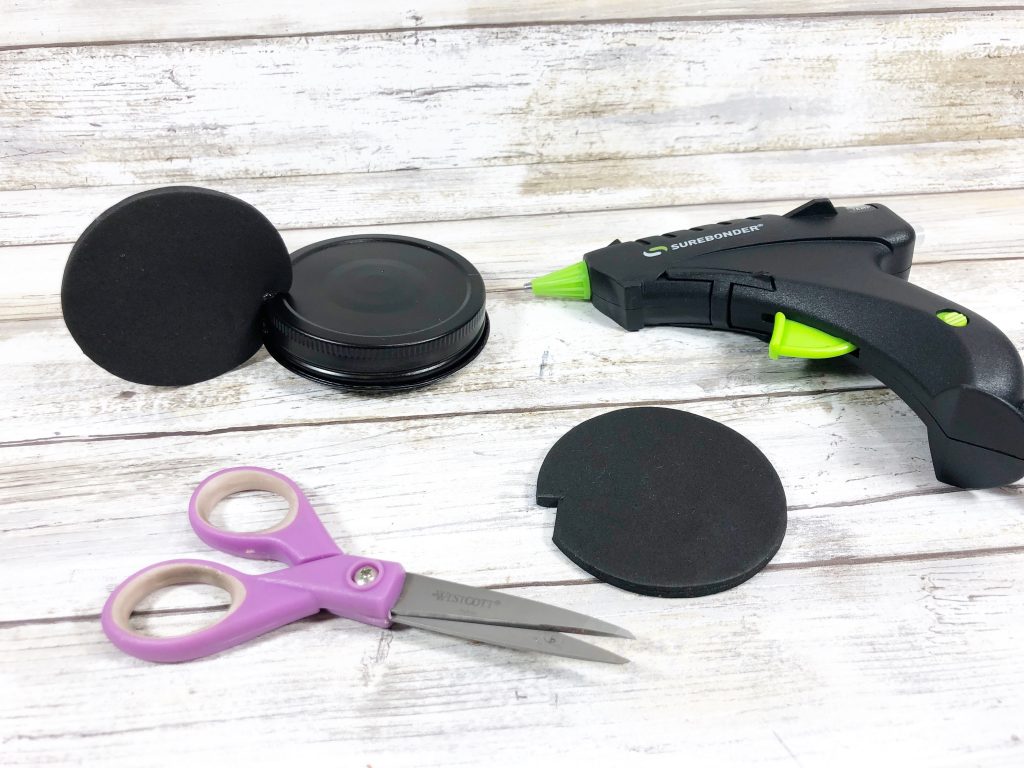
Trace jar lid on black craft foam with white pencil, eight times and then cut out with scissors.
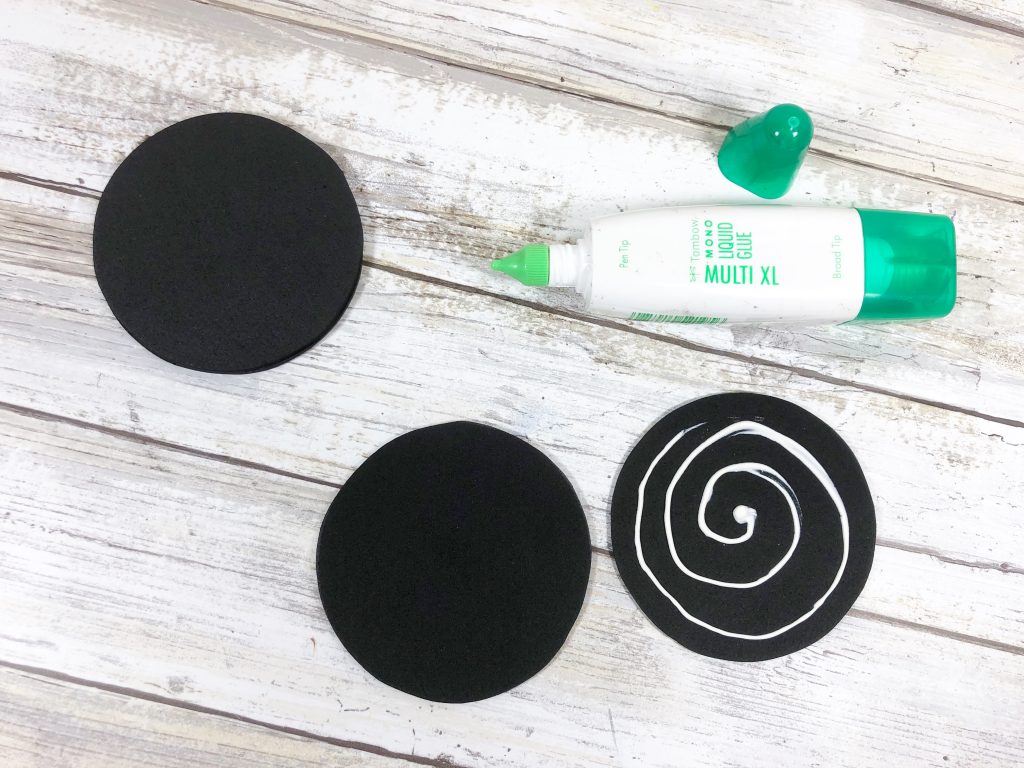
Step 3
Layer two circles on top of each other and attach with liquid glue. This will create four ears to attach to the jar lids later. Base coat two jar lids with Black Tie, set aside to dry. Apply a second coat, if necessary.
Step 4
Attach two white buttons to Mickey jar with liquid glue.
Step 5
Create polka dots with round sponge applicator and Cotton Ball paint. Tap sponge gently in paint until full and the carefully pounce and twist to create random polka dots.
Step 6
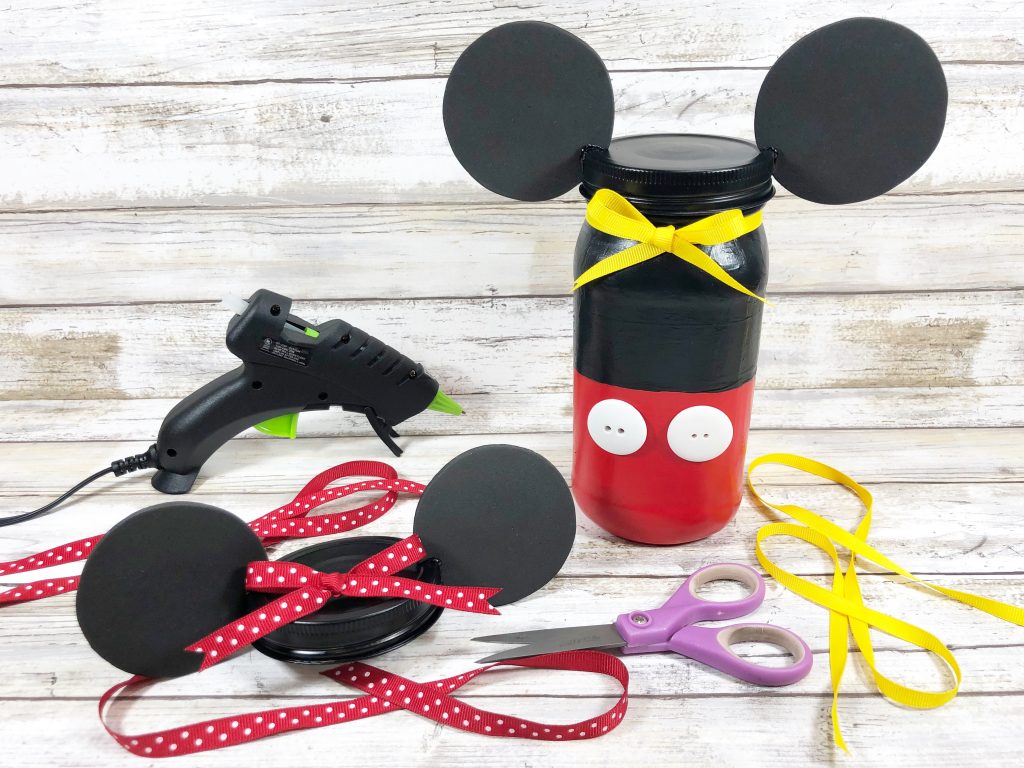
Cut a small notch from each ear and attach to jar lid with glue gun.
Step 7
Measure and cut a 24” length of yellow ribbon to attach around the neck of the Mickey jar and then tie in a bow. Measure and cut a 12” length of red and white polka dot ribbon, tie in a bow and then attach to Minnie jar lid with glue gun. Trim ends of both ribbons with scissors.
The Multi-Surface Satin Paint really does make all the difference when painting on the glass mason jars and metal lids!
Is there a special souvenir your family is saving for? Tell us about it, we’d love to hear. This is one of our favorites!
Leave a Reply