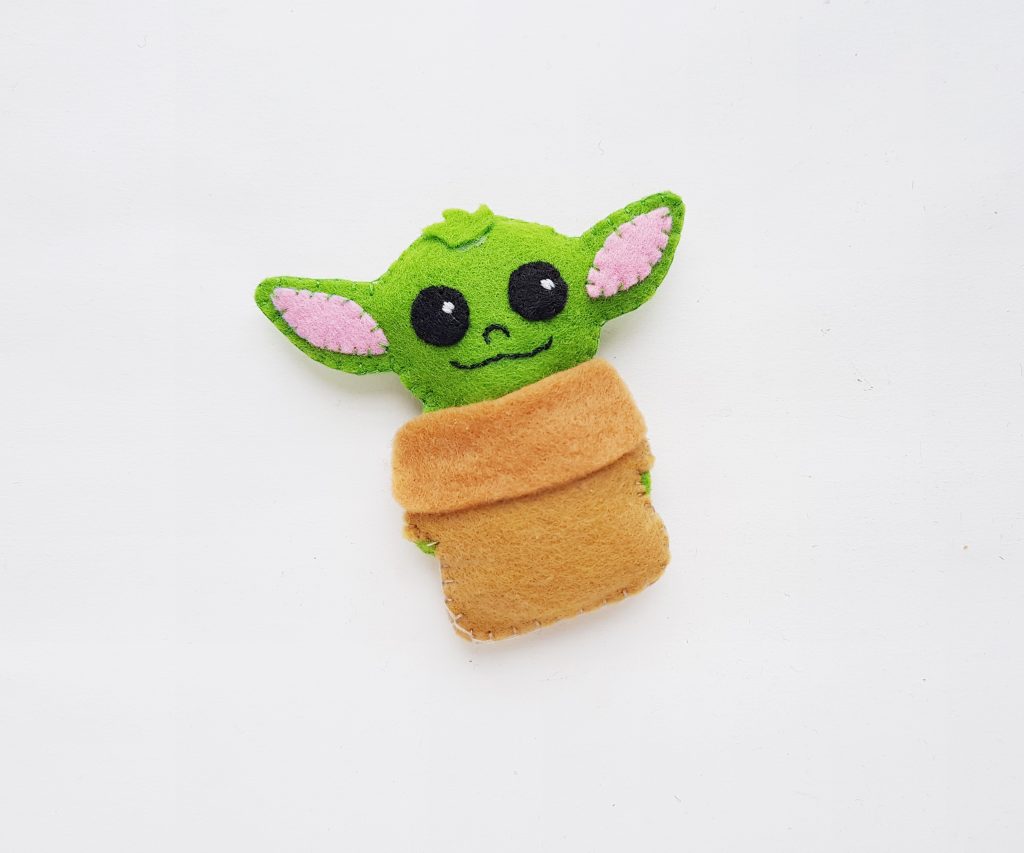
Yoda is too cute not to want to make a dozen of these baby plush!
List of Supplies:
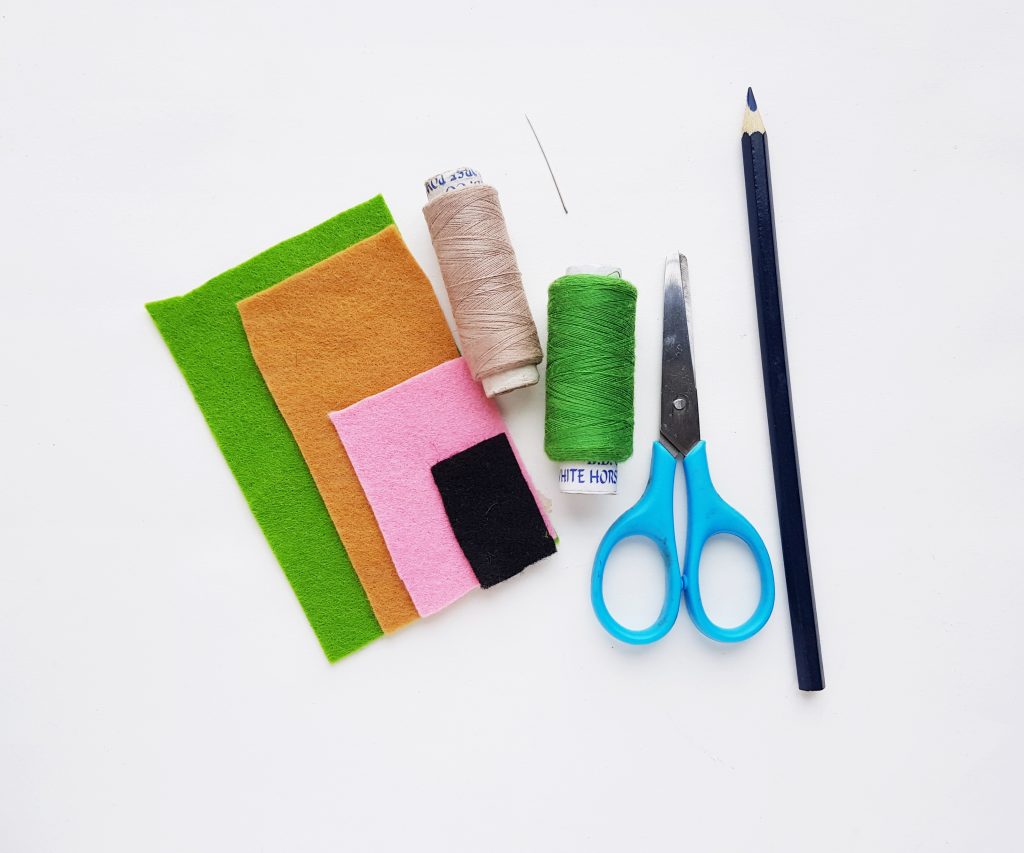
- Colored felt fabrics
- Pencil
- Scissors
- Needle and thread
Instructions:
Step 1:
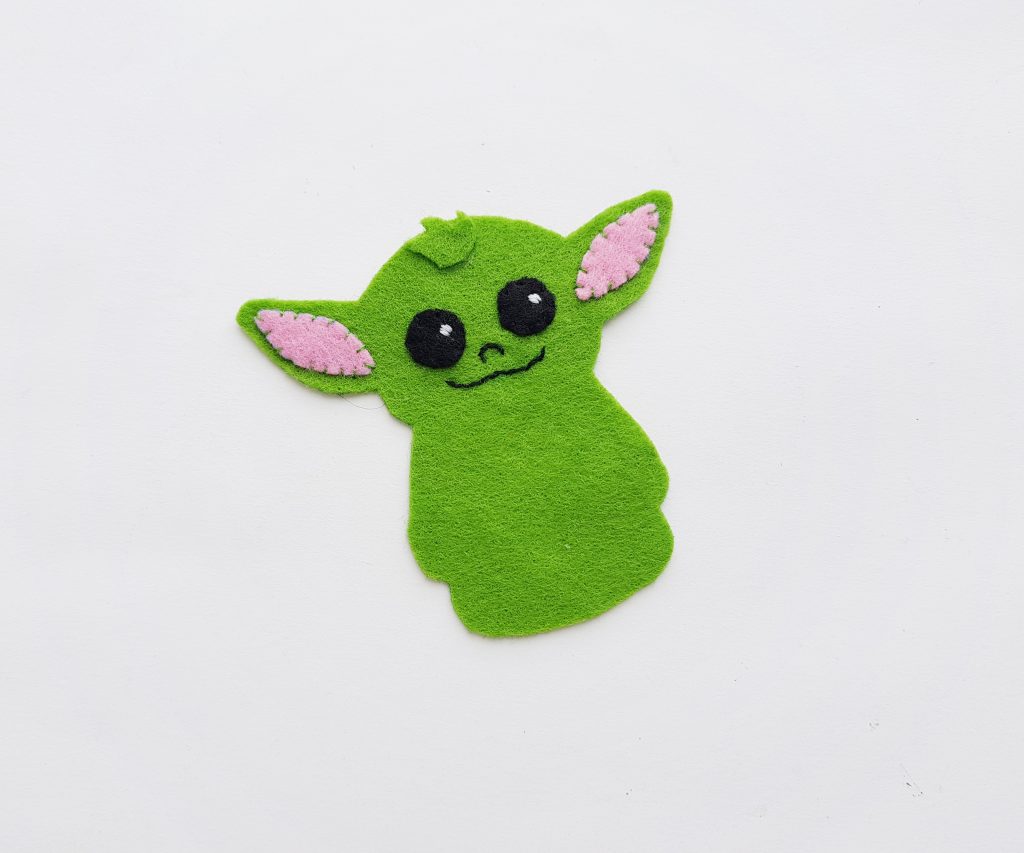
Select green, brown, black and pink colored felt fabrics for this craft. Trace the 2 body patterns and the small hair pattern from green colored felt. Trace the 2 circles on black felt and the 2 inner ear patterns on pink felt. Trace the rest of the patterns (clothe) on brown colored felt. Cut out the traced patterns.

Step 2:
Grab any one of the body cutouts and the 2 black circles. Stitch the black circle on the head part of the body pattern. I stitched a small spot on each black circle. Also trace the nose and mouth and stitch the traced lines with black thread.

Step 3:
Stitch the inner ear parts cut out from pink felt in the middle of the ear parts of the head. Also stitch the small hair pattern on the top side of the head.
Step 4:
Grab the other body pattern and place it under the stitched one. Prepare needle with green thread and start to stitch the sides of the head parts of both body patterns to attach them together.
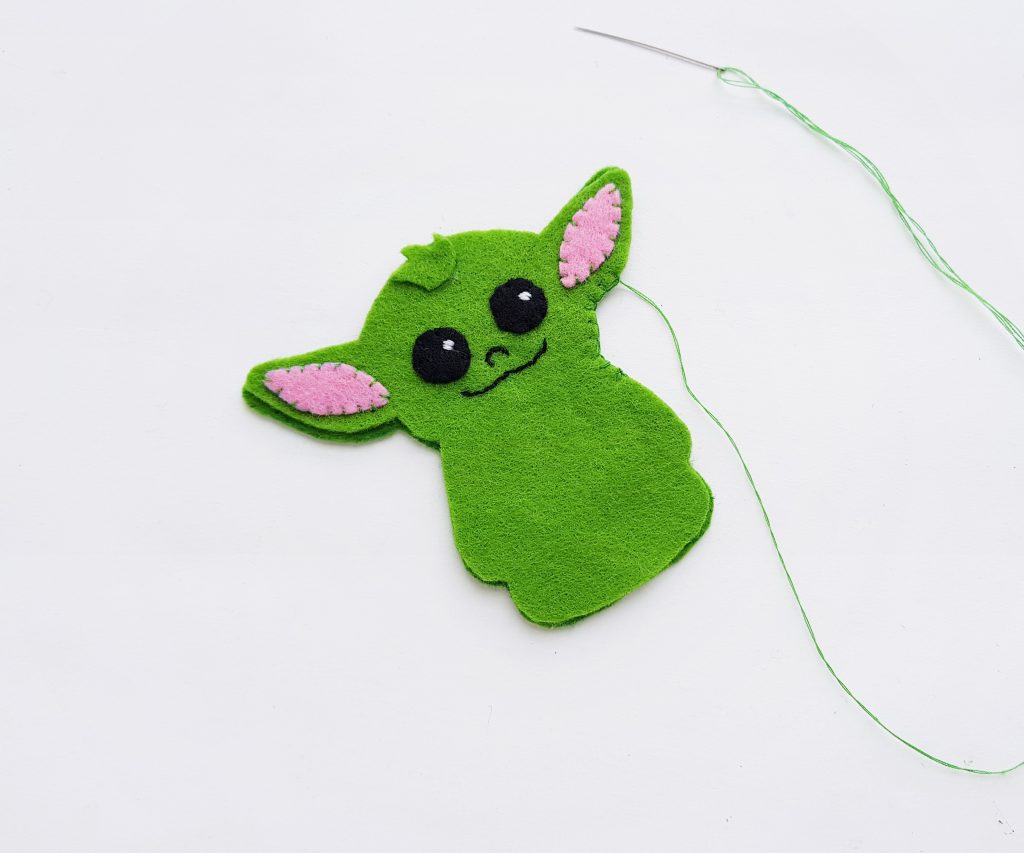
Step 5:
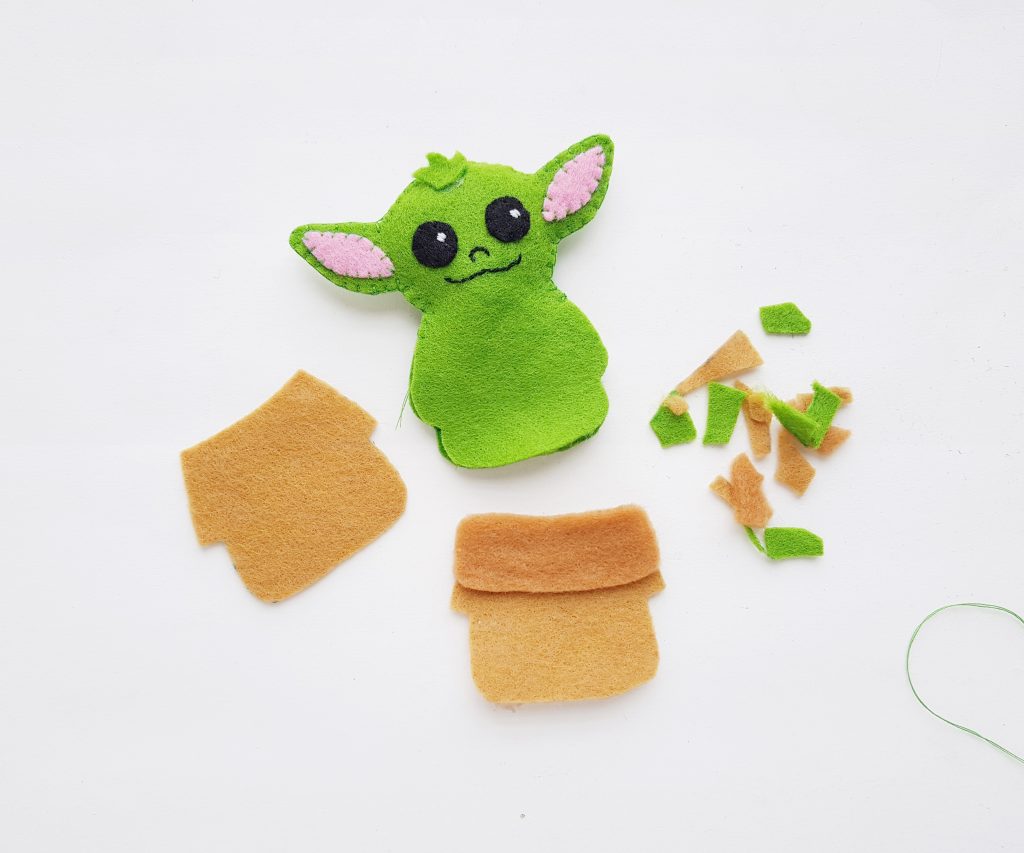
Do not stitch the body patterns all around; keep the rest of the part intact. Only stitch the head. Attach the strip part of the clothe patterns along the top side of either clothe base patterns.
Step 6:
Place the plain clothe cutout on the back side of the felt Yoda and place the other clothe pattern on the front side of the felt Yoda. Start to stitch around the sides of the clothe pattern to secure the felt Yoda for stuffing.
Step 7:
Keep a small opening for stuffing the felt Yoda. I’m using scrap felt pieces for stuffing. You can cut the scrap felts into small pieces for a nice and even stuffing. Stuff the felt Yoda through the small opening.
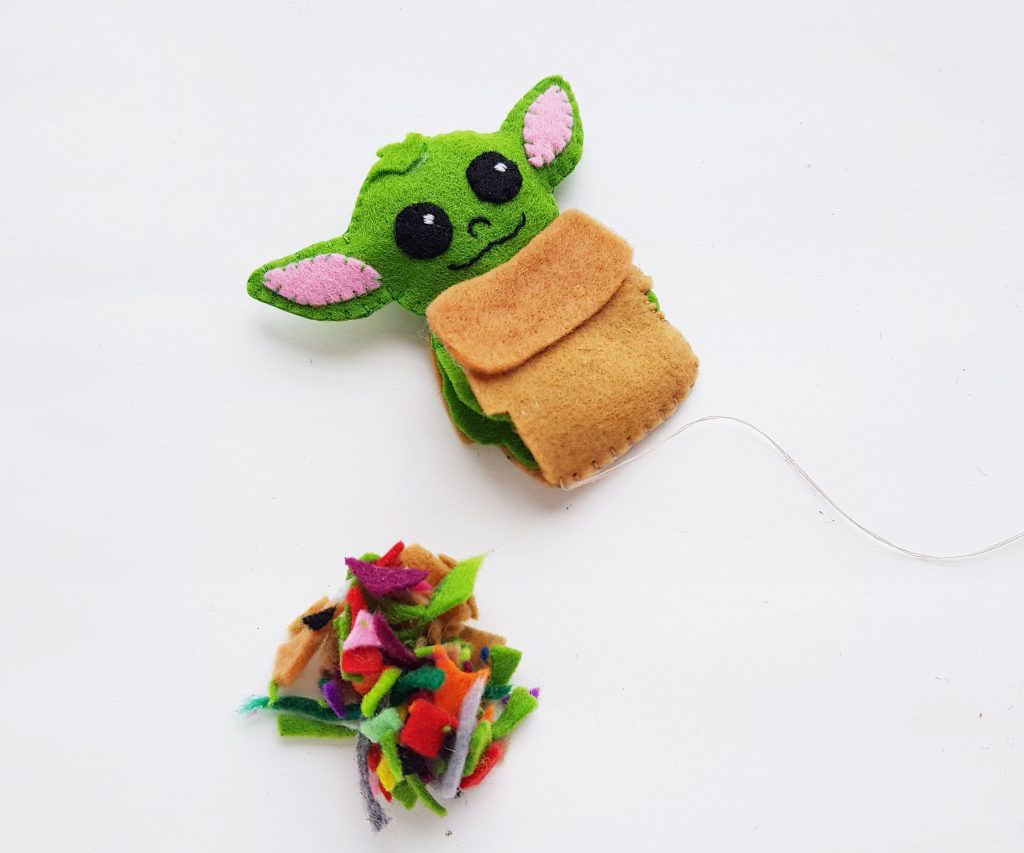
Step 8:
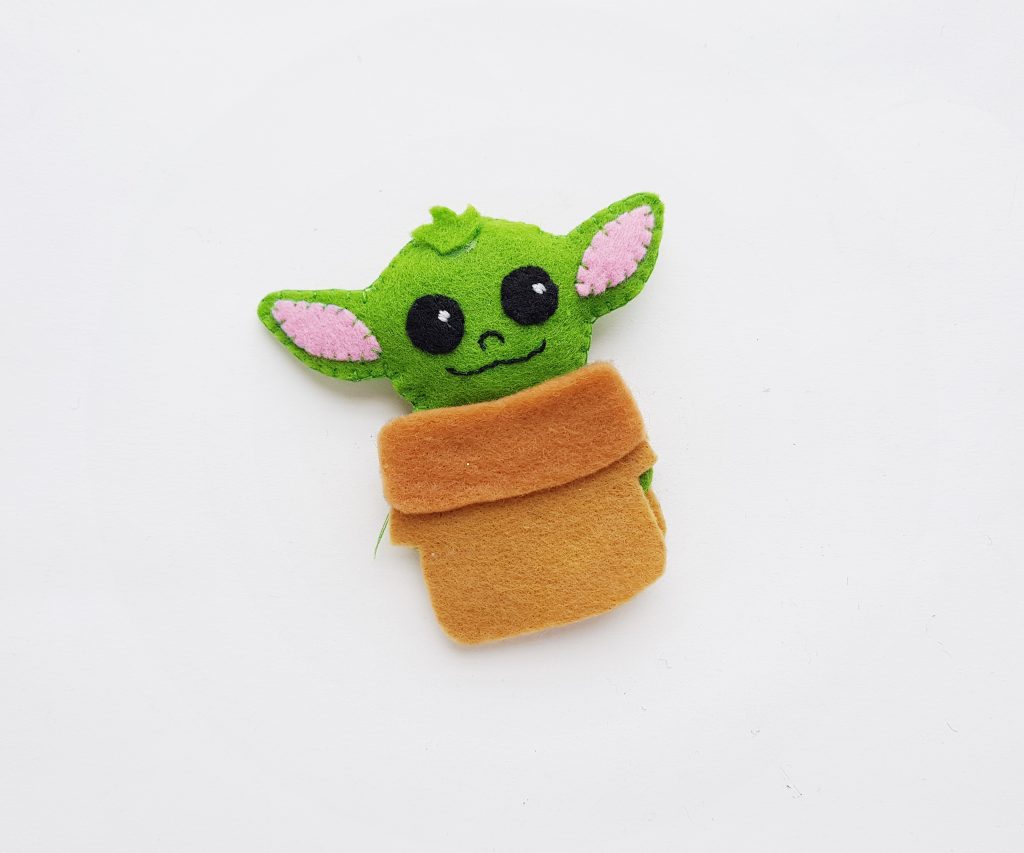
Stitch the open end to secure the stuffing.
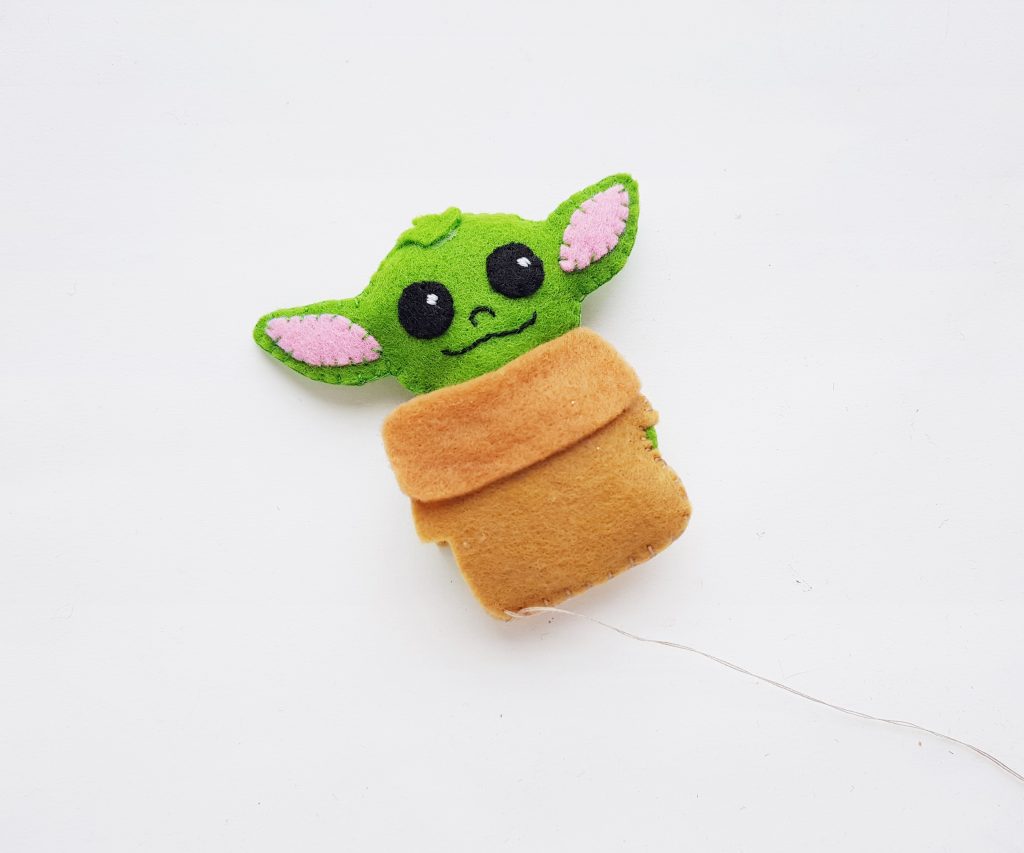
Step 9:
Once you are done stitching the side, tie a knot or 2 and cut off extra thread.
Download the pattern
diy-baby-yoda-by-ezdisezLet us know how your’s turned out!
[…] You can also make your own Baby Yoda! […]